Providing users with helpful header information
When collaborating on a spreadsheet, team members appreciate helpful information displayed at the top of each page.
This can easily be achieved by utilizing the page’s header area and a few properties as this article will illustrate.
When you begin in Excel, you’ll notice the spreadsheet appears to have no header area – the first row (1) touches the column headers (A…).
 Therefore, my first step is to use the View menu to use the Page Layout view.
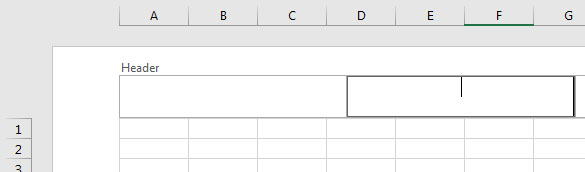
You’ll now see a new “Header” area exposed which I may click in to add helpful page properties.
 Once you click inside the Header field, a new “Design” tab appears providing many helpful properties you may insert into your header.
Using the Header -> [Current filename] property, I will insert the name of the current file as my first field and insert a new line. This will ensure when the spreadsheet is printed, the name of the file always appears first at the top.

 Now I will insert “Page:” and the “Page” and “Number of Pages” property from the same Design tab.
After I adjust the “Top” property in the page’s Custom Margins, the header displays the intended information at the top of each page.